Digital Clock Design Using Arduino Circuit Diagram
BlogDigital Clock Design Using Arduino Circuit Diagram The simplest Arduino LCD clock ever designed. Only needs an Arduino UNO, a 1602 LCD, and two buttons. No resistors, no potentiometer.
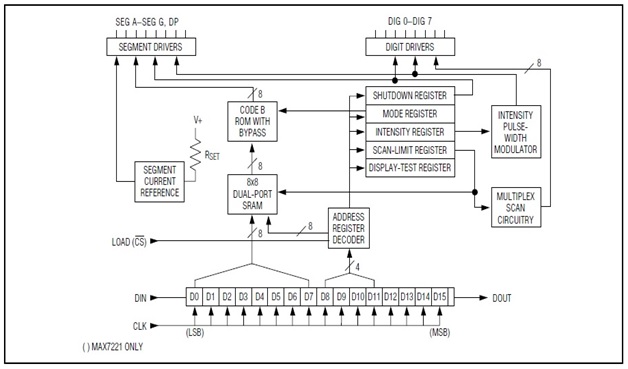
Arduino Digital Clock Using 7 Segment Display: In this post we are going to learn how to construct 16 digit - 7 segment display digital clock using Arduino. The clock will display date, time and temperature. How to Make a Arduino Digital Clock: Digital clocks are one of the great invention in the field of science. Have you ever wondered "How to make your own digital clocks , just like in movies! The digital clock circuit diagram using Arduino is a project that utilizes an Arduino microcontroller to create a simple digital clock. The clock displays the time in hours, minutes, and seconds, and can be programmed to adjust for different time zones or display the date.

Step Guide: Building a Digital Clock Circuit Diagram using Arduino
DIY Digital Clock With 7 Segment LED Display: Hey guys, Welcome to Being Engineers. Hope you all are going great. This will be a short and simple project about how to make a digital clock using Arduino. Previously We have made a binary clock using charlieplexing concept. You can find the link t… Learn how to create an Arduino-based alarm system with an I2C LCD display, RTC module, and button inputs for time and alarm settings. Circuit Connection of Arduino Digital Clock Without RTC Module To make the digital clock's first circuit, we need an Arduino board, two pushbuttons, an LCD display, and an I2C Display Module.

With the circuit connections established, you have successfully set up the hardware for your Arduino digital clock with the DS1307 RTC module. The next step is to program the Arduino to control the clock's functionality and display the time and date on the LCD. Circuit Design Using PCB Software
